 +91 8560027078
  info@d3logics.com


Offers
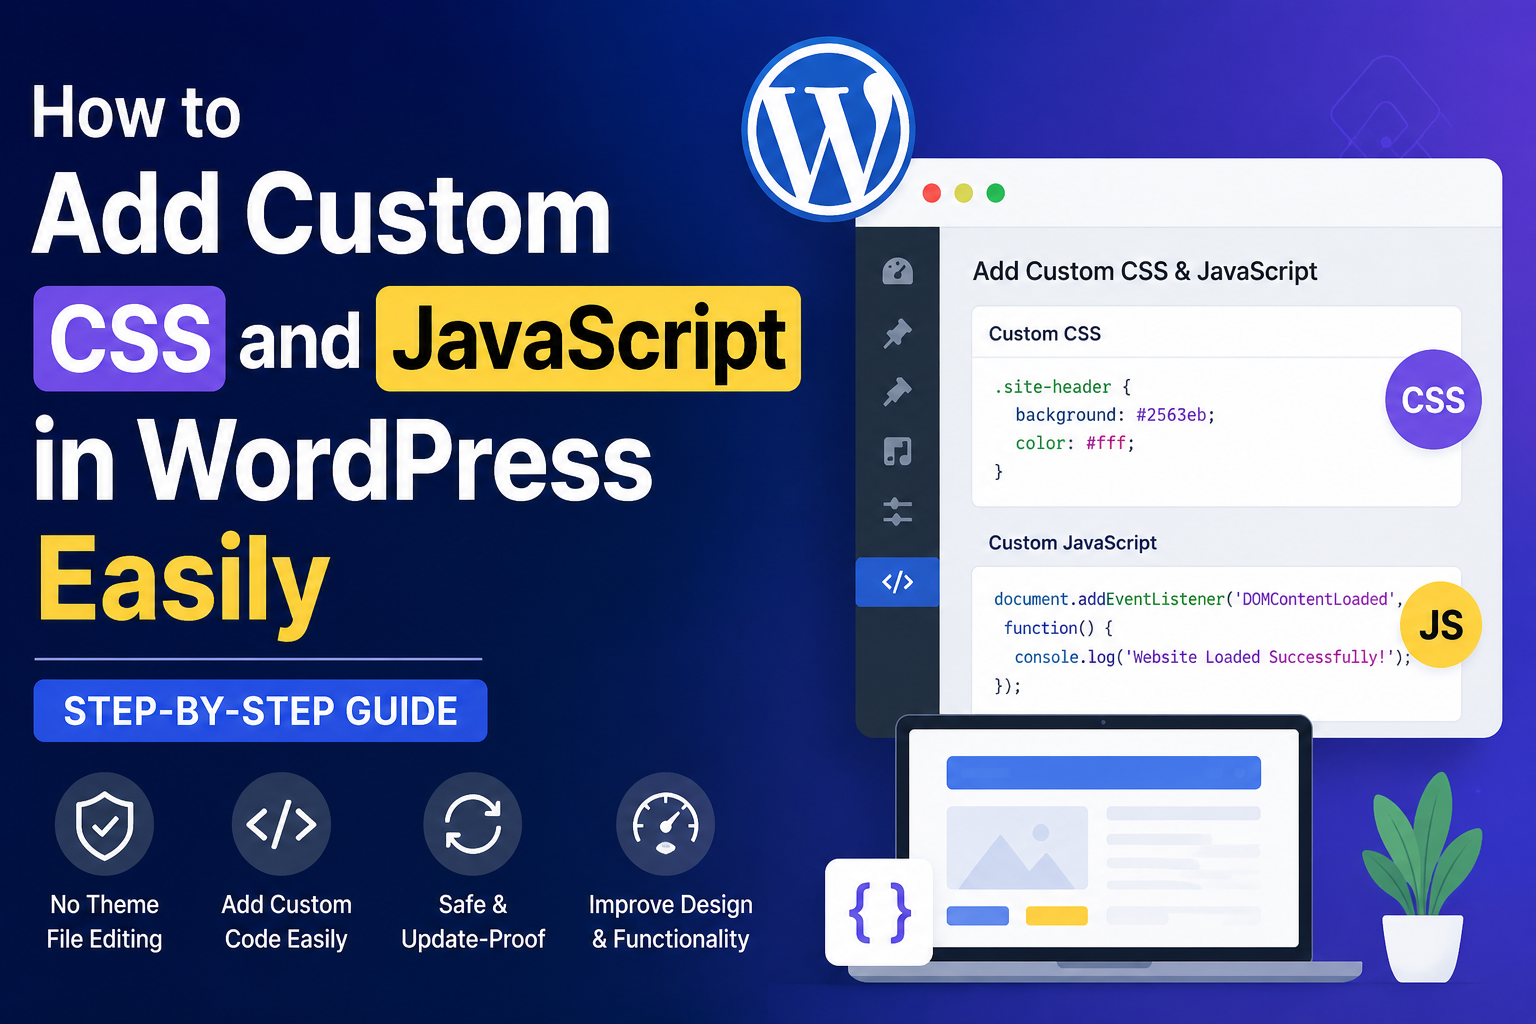
How to Add Custom CSS and JavaScript in WordPress Easily (Step-by-Step Guide)
June 4, 2026
WordPress offers endless customization possibilities, but sometimes the built-in settings are not enough. Whether you want to change your website’s appearance, add animations, integrate tracking codes, or implement custom functionality, adding custom CSS and JavaScript can help you achieve your goals.
In this guide, you’ll learn how to add custom CSS and JavaScript in WordPress safely and easily without editing your theme files.
Why Add Custom CSS and JavaScript in WordPress?
Custom CSS allows you to modify the appearance of your website, while JavaScript enables interactive functionality and dynamic features.
Common use cases include:
- Customizing fonts, colors, and layouts
- Creating animations and hover effects
- Adding Google Analytics or tracking scripts
- Integrating third-party tools
- Enhancing WooCommerce pages
- Improving user experience
The Problem with Editing Theme Files
Many beginners directly edit theme files such as:
- style.css
- header.php
- footer.php
- functions.php
While this works, it has major drawbacks:
- Theme updates overwrite your changes
- Increased risk of website errors
- Difficult maintenance
- Time-consuming troubleshooting
A safer approach is to use a dedicated plugin for managing custom code.
Best Way to Add Custom CSS and JavaScript
Using a custom code plugin is the recommended method because it keeps your modifications separate from your theme.
Benefits include:
- Update-safe customizations
- Easy code management
- No coding files required
- Better organization
- Reduced risk of errors
Step 1: Install a Custom CSS and JavaScript Plugin
Navigate to:
WordPress Dashboard → Plugins → Add New
Search for a custom CSS and JavaScript plugin and install it.
After activation, you’ll find a new menu where you can manage your custom code snippets.
Step 2: Add Custom CSS
Open the CSS section and paste your custom styles.
Example:
.site-header {
    background: #0d6efd;
}

.site-title {
    color: #ffffff;
}
Save the code and refresh your website to see the changes.
Step 3: Add Custom JavaScript
Open the JavaScript section and paste your script.
Example:
document.addEventListener('DOMContentLoaded', function() {
    console.log('Website Loaded Successfully');
});
Save the script and verify that it works correctly.
Popular CSS Customizations
Change Button Color
.button,
.wp-block-button__link {
    background-color: #ff6600;
}
Increase Heading Size
h1 {
    font-size: 42px;
}
Hide an Element
.element-to-hide {
    display: none;
}
Popular JavaScript Uses
Scroll to Top Button
window.scrollTo({
    top: 0,
    behavior: 'smooth'
});
Popup Trigger
alert('Welcome to our website!');
Custom Form Validation
JavaScript can help validate forms before submission and improve user experience.
Best Practices
When adding custom code:
- Test changes on a staging site first.
- Keep code organized and documented.
- Remove unused snippets.
- Minify large CSS and JavaScript files when possible.
- Backup your website before major changes.
SEO Benefits of Custom CSS and JavaScript
Properly implemented custom code can help:
- Improve user experience
- Increase page engagement
- Enhance website functionality
- Optimize conversion tracking
- Support structured data implementation
However, avoid adding excessive JavaScript, as it may slow down page loading times.
Conclusion
Adding custom CSS and JavaScript in WordPress is one of the easiest ways to personalize your website and add advanced functionality. Instead of editing theme files directly, use a dedicated plugin to keep your customizations safe, organized, and update-proof.
Whether you’re a beginner, developer, or business owner, managing custom code through a plugin is the safest and most efficient approach for customizing your WordPress website.
